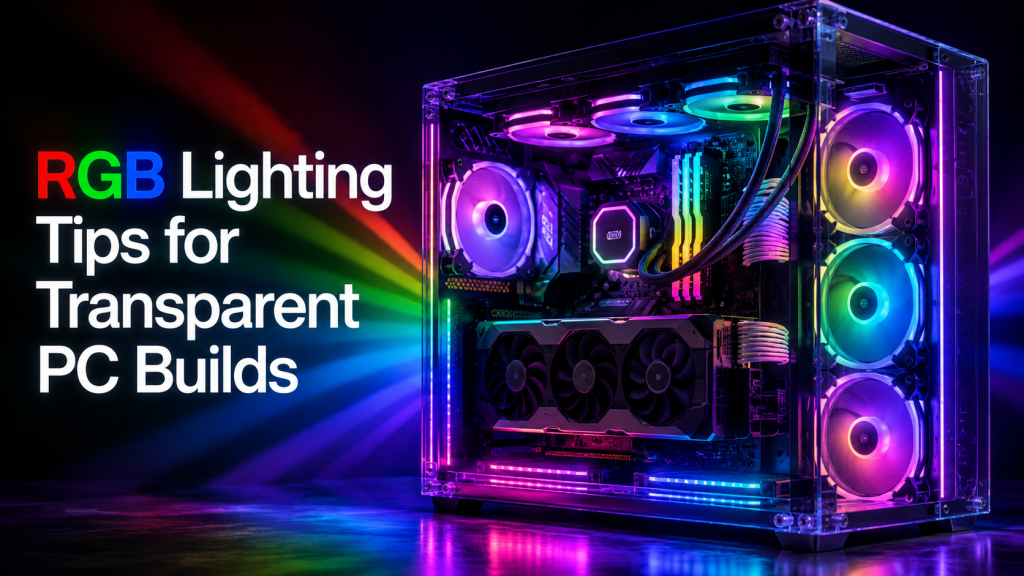
Building a custom rig allows for complete creative control over its appearance. A high-quality transparent PC provides the perfect canvas to showcase internal hardware through glass panels. Lighting plays a functional role in highlighting components and creating a specific atmosphere for a gaming setup.
Selecting Hardware with Integrated Lighting
To get the most out of a glass chassis, hardware choices make a significant difference. Many internal components now feature built-in LEDs that reduce the need for additional external LED strips and extra controller wiring. You should look for parts that include integrated light zones:
- Fans with outer ring lighting or hub-mounted LEDs.
- RAM sticks with thick diffusers to prevent visible “hot spots.”
- GPU backplates that feature glowing logos or side strips.
- Liquid coolers with customizable pump head displays or infinity mirrors.
Selecting components with pre-installed lighting reduces the clutter inside the case. This approach keeps the interior organized and focuses the viewer’s attention on the primary hardware.
Master the Art of Diffusion
Harsh, direct light from bare LED strips often ruins the aesthetic of a glass case. Using diffused light creates a professional look by softening the glow across the hardware. Consider these methods to improve light quality:
- Place LED strips behind motherboard trays or under the PSU shroud to hide the diodes.
- Use frosted “neon” style strips that provide a continuous line of light.
- Point hidden light sources toward the internal metal surfaces of the case. This allows the light to bounce back and create a soft, ambient glow rather than a harsh, direct beam.
- Install magnetic light bars that can be easily repositioned for the best angle.
Reflecting light off solid surfaces creates a glow that fills the entire chamber. This technique avoids the distracting “spotlight” effect of seeing individual LEDs through the glass.
Choosing a Sophisticated Color Scheme
Setting every component to a different color creates a chaotic look. A limited palette makes the hardware stand out and gives the setup a specific mood. Specialists at boutique shops like Hyper Cyber often suggest sticking to a maximum of two or three colors. Effective color choices for these systems include:
- Blue evokes a clean, futuristic, and calm atmosphere.
- Choose Green to create a bold, high-energy, or “radioactive” look.
- Red is perfect for a high-intensity, aggressive, and classic gaming vibe.
- Purple adds a layer of mystery and sophistication to the build.
A single-color theme makes the build look intentional and professional. You can always switch between these colors depending on the time of day or the specific game you are playing. This level of consistency helps the internal components look like they belong together.

Synchronizing Your Setup
Controlling every component through a single interface simplifies the management of the lighting profile. Most Hyper Cyber systems use components compatible with major motherboard software. This allows for several advantages:
- Coordinating pulse effects across the RAM and case fans.
- Adjusting brightness levels based on the time of day to reduce eye strain.
- Setting lighting to change colors based on CPU or GPU temperatures.
- Creating custom profiles for different games or productivity tasks.
Syncing devices through one hub or software suite prevents different parts from flashing out of rhythm. A unified lighting pattern moves into light feel natural and fluid.
Cable Management and Visual Clarity
Cables become highly visible through glass panels, especially when hit by bright light. Messy wiring blocks the glow and creates ugly shadows. Effective cable management includes:
- Using Velcro ties instead of plastic zip ties for easier adjustments during upgrades.
- Routing cables through the closest grommet to minimize visible runs across the motherboard.
- Installing braided cable extensions for the 24-pin and PCIe power connectors to add texture.
Clean lines allow the light to pass through the case without casting awkward shadows. A tidy interior makes the RGB effects pop and proves that the system was built with care. Maintaining this order also helps with long-term dust management and cooling efficiency.

